No one is born that way, that they already know what cryptocurrencies are and where they are stored.
We are trying to make your first couple of independent steps in the crypto world easier. How? Now we will show you the necessary steps to install a crypto wallet and then how to use it. If you are interested in more, you can find more information on our website about what bitcoin is and how to mine bitcoin.
So let’s get started with the installation!
It is important, that this wallet is available on your desktop and on your mobile too.
For starter, let’s have a look how to install the application.
Open App Store or Google Play on your mobile, type “Blockchain” into the search window, then download the app with the following icon:
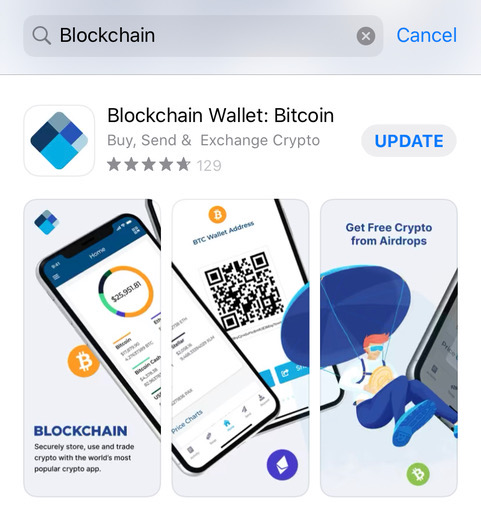
I have been using this app for a long time, this is why you see the “update” button on the picture, but if you download it for the first time, you have to click on the “get” button, which will be exactly at that spot.
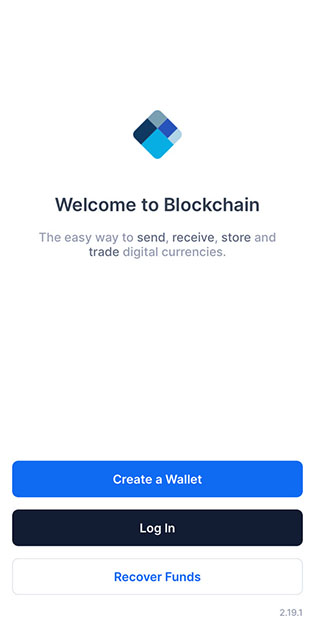
As soon as you are done with the download and opened the app, you will see the screen above.
You can choose from 3 options:
-
Create a wallet: click here to create your own wallet
-
Log in: click here if you already have a wallet
- Recover Funds: click here, if your device got lost, on which you were using the wallet, but you have everything else (email address, password, 12 word backup phrase) to recover your wallet.
As you click on the “Create a Wallet” button, you will see this screen:
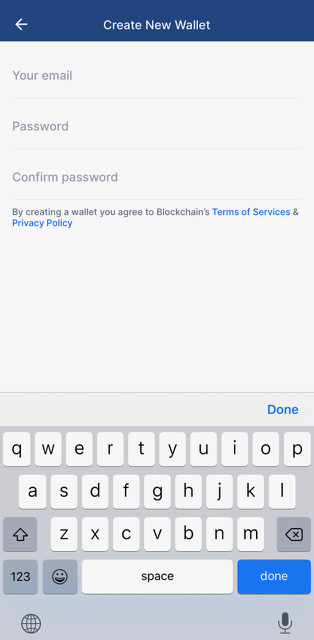
Here you don’t have to do anything else, just to give your email address and a password, that you won’t forget.
If you are done with this, just click on the “Continue” button.
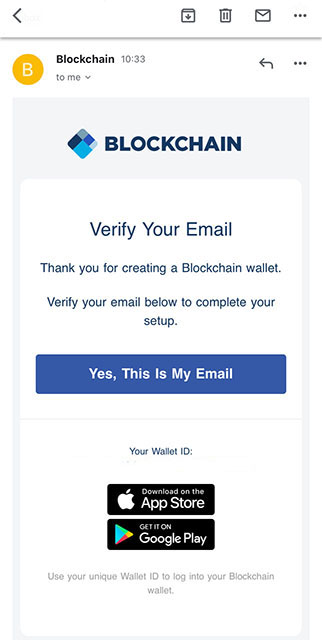
You will get an email to confirm your email address, in which you have to activate your registration via a link.
If you click on the “Yes, This Is My Email”, your phone will automatically redirect you to this site:
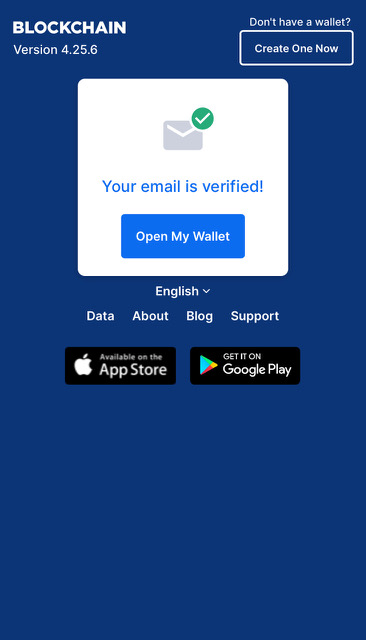
This page informs you if your email address confirmation was successful and soon you can use your Blockchain wallet.
Now click on the “Open My Wallet” button.
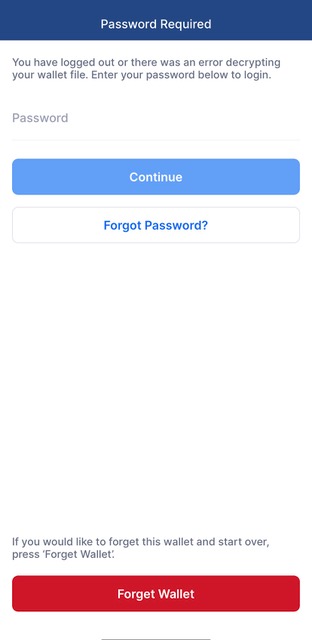
When you type in your password, that you created a couple of minutes ago, the “Continue” button will turn blue.
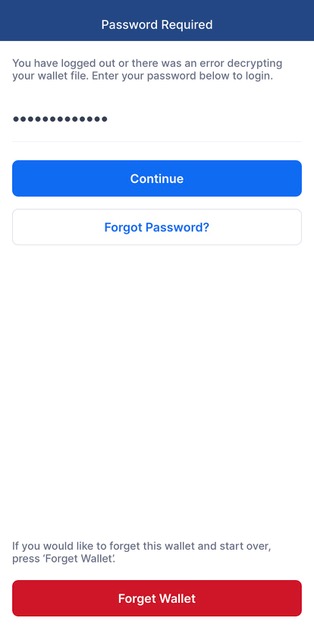
If you forgot your wallet already, no need to worry, you can just click on the red “Forget Wallet” button, this way deleting the whole thing so you can start again.
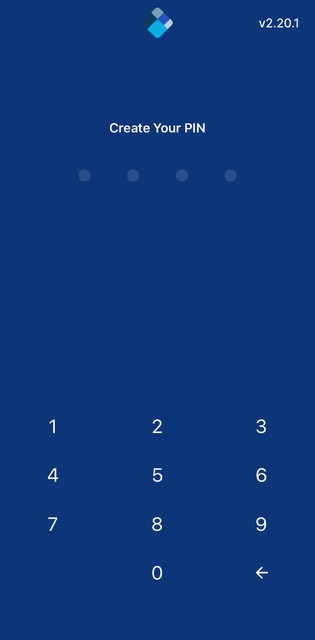
After this, you have to set a 4-digit PIN code, that the app will ask every time you open it.
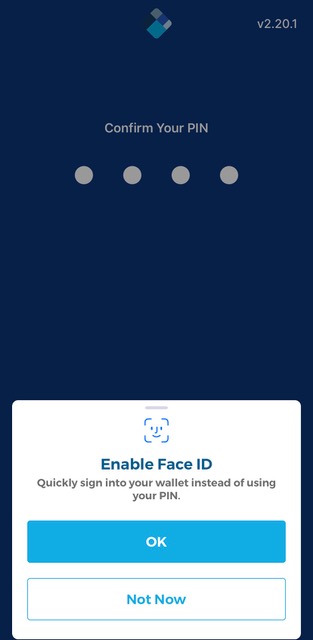
If your phone has face recognition or Touch ID, by clicking on the “OK” button you can enable those instead of using the passcode.
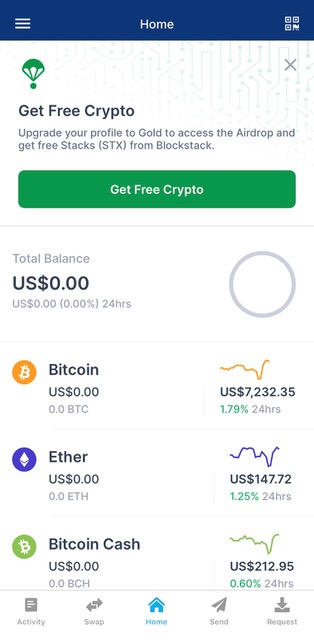
Voilá! You are done with the installation!
Now you only need to make a couple of safety settings before you start using your wallet.
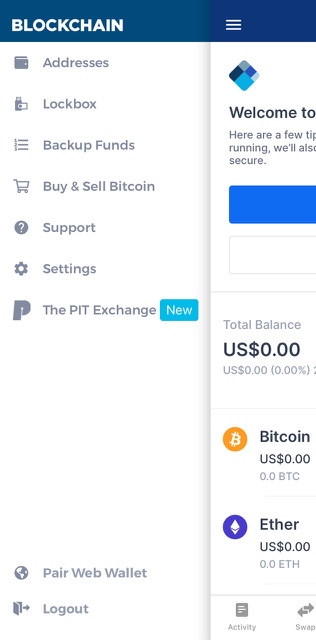
In the blue stripe, on the upper part of the screen, if you click on the 3 lines, you will face the screen on the picture above. First, click on the “Backup funds” button to get your 12 backup phases. With the help of these words, you can always bring your lost wallet back to life.
It is basically a must to write down all of these phases and store them in a secure place. For example if you lose your phone or anything happens that restrains you to access the tool where your wallet is you can use these words to save your wallet and access the money on it.
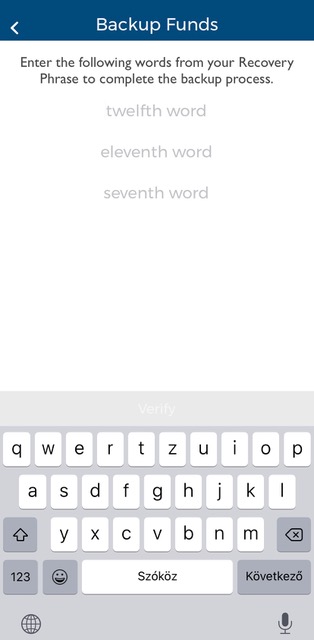
Extra tip: write down these words in the order you see them because the app will ask you to type in 3 of them with a certain number (like the 3rd word, 6th word,...).r (like the 3rd word, 6th word,...).
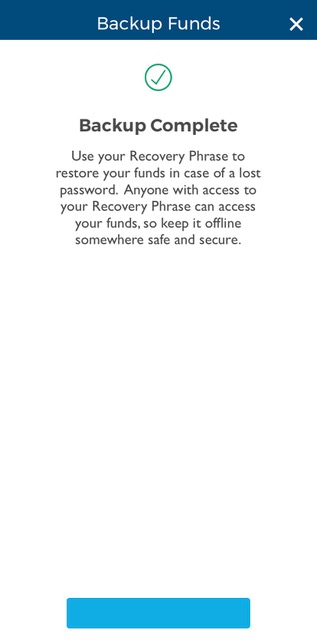
If you sent back these 3 words correctly, you will face the following screen. If you click on the blue button at the bottom, the process will start over, thus I recommend you click on the “X”, of course only if you don’t want to check the words again.
How do I send/receive Bitcoin?
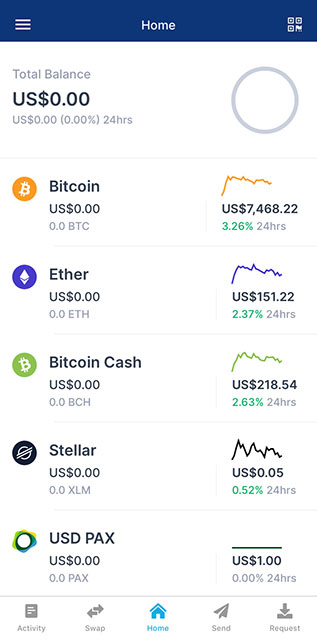
First you have to get back to the home page and then decide whether you want send or receive bitcoin.
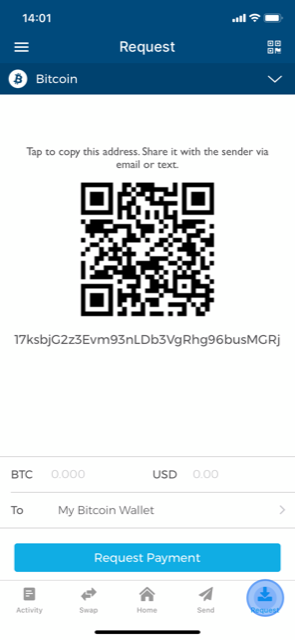
If you would like to receive an amount, click on the “Request” button at the right corner.
You can find the addresses that you need to receive coins. You can copy them or send them in a QR code form.
If you prefer to trade online, you might find the first option easier, but if you like the Bitcoin ATMs then the second.
With clicking on the arrow pointing downwards in the blue zone you can choose which cryptocurrency you want to receive.
It’s worth to check this part always, just to make sure that you chose the right currency.
Furthermore, if you know the amount of crypto you want to get, you can fill out the blank space next to the BTC or USD sign. This way the system will generate an address which will automatically paste the details for the sender when they scan the QR code.
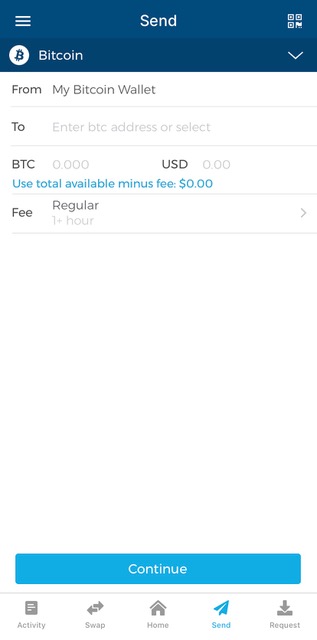
If you want to send bitcoin from your wallet to someone, just simply click ont he “Send” button. Then, just as in the former case, when you received money, choose which cryptocurrency you want to move, write the receiver’s address into the blank space next to the “To” zone, type in the amount you’d like to send, and tap on the “Continue” button.
If you click on the “Use total available minus fee” option, every coin in your wallet will be sent, plus the system will fill itself out, so you don’t need to calculate how many coins will reach the destination with the transaction fee included.
You can set the mining fee (which is necessary for the transaction) next to the “Fee” sign.
If you need to hurry, choose the “Priority” option, but if you have time, just stay at “Regular”.
I would not recommend the “Economy” version, because if the number of transactions increases in the system the mining fee will jump up too and the transactions, sent with a low fee can easily get stuck, thus you will receive them later.
It might be worth it to keep the “Custom” option for later, when you have more experience with the transactions.
I hope I could be at your help with this article to install your first bitcoin wallet.
Click here if you would like to buy Bitcoin.
Click on the stars to rate the article! :)

